Create a Facebook Catalog
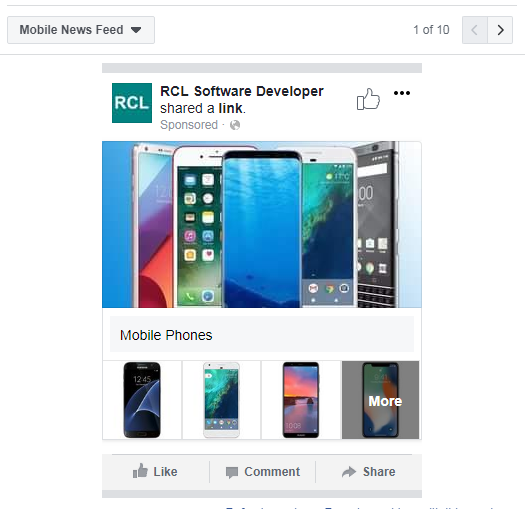
Selling Services provides a product feed to Facebook to create a Facebook Catalog. In this section, we will demonstrate how to create a Facebook Catalog.
Facebook Business Manager
Business Manager is a free Facebook tool to organize and manage your business. To create a Business Manager account please visit the following link : https://www.facebook.com/business/help/1710077379203657
Create a Facebook Catalog
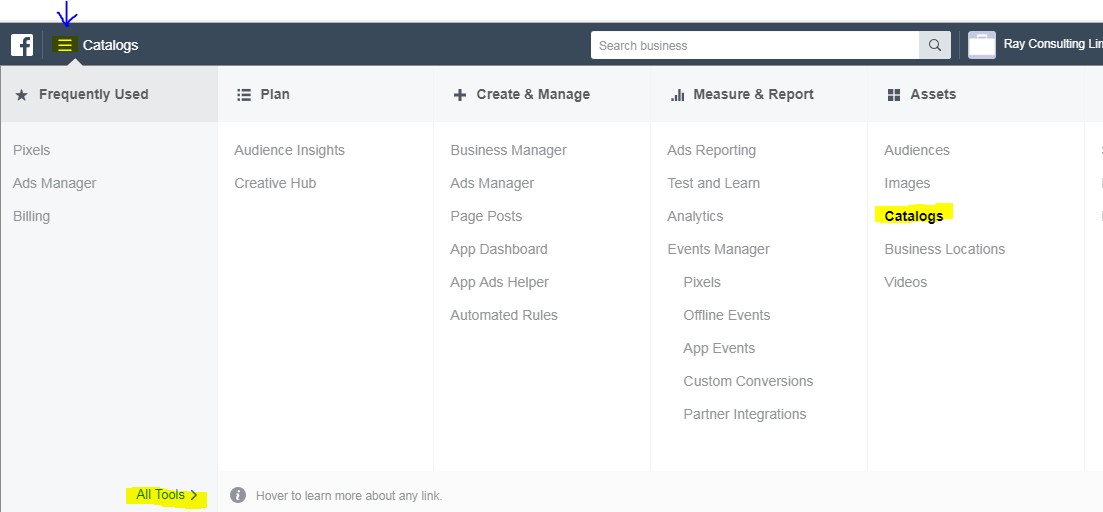
In Business Manager, navigate to the 'Catalog' section as shown below.
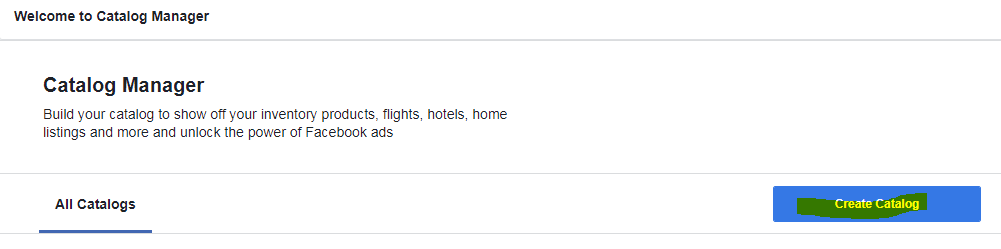
In the 'Catalog Manager', create a new catalog.
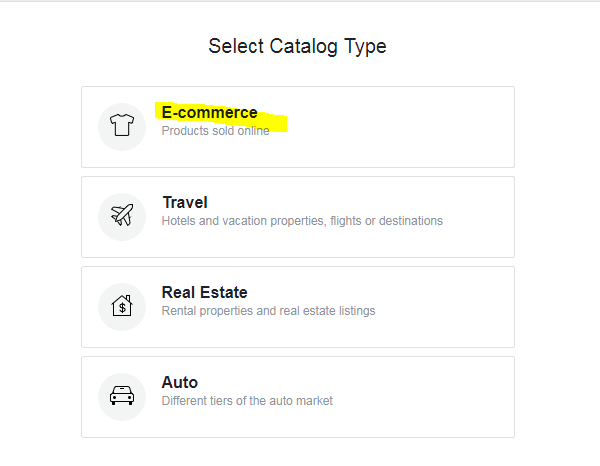
Select 'E-commerce' as the Catalog Type.
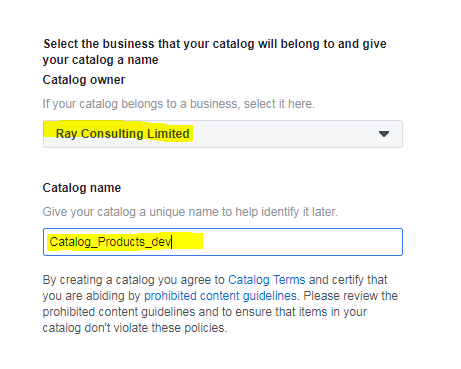
Set the 'Catalog Owner' and assign a name to the Catalog. Complete the catalog creation and finally view the catalog.
Adding a Data Source in the Catalog
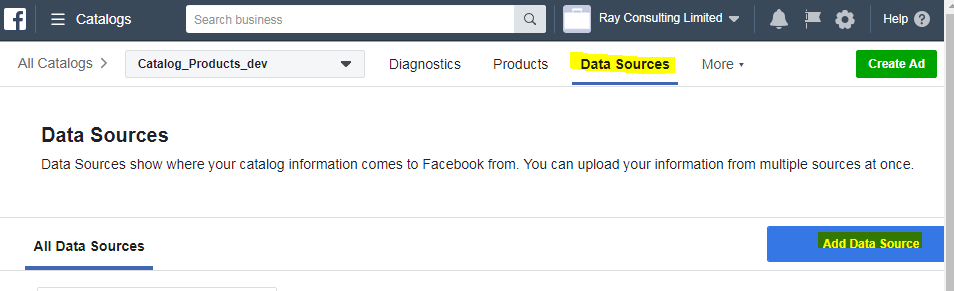
In the Catalog, click on the 'Data Sources' tab and the 'Add Data Source'.
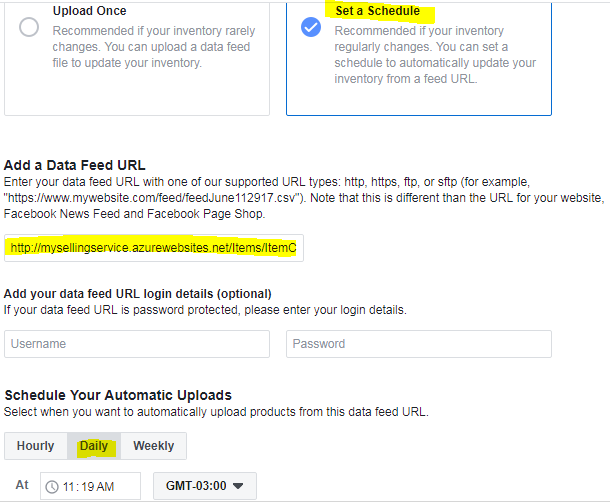
Set a Daily Schedule to upload from your Data Feed. Add your Data Feed URL in the format :
http://your-website-url/Items/ItemCSVFeed
An example of a Data Feed Url is :
http://mysellingservice.azurewebsites.net/Items/ItemCSVFeed
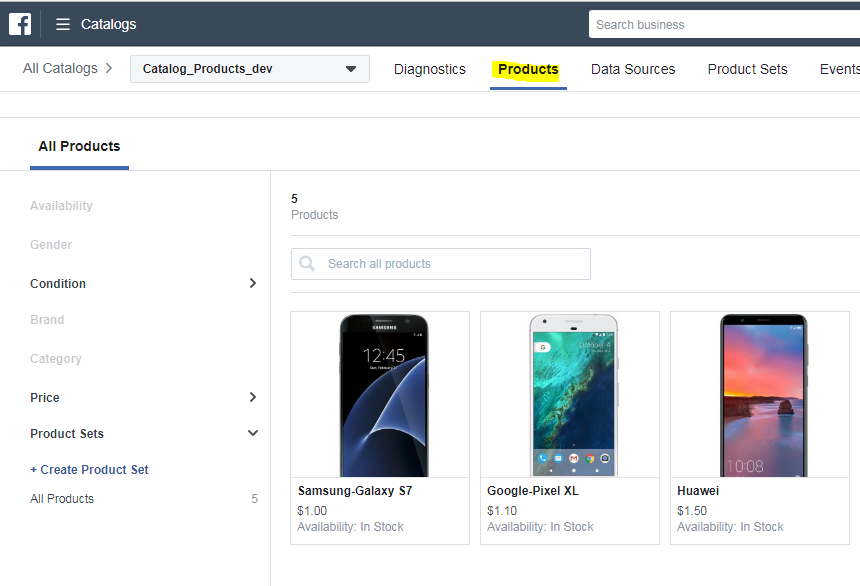
When you are done click 'Start Upload' to upload your products to Facebook. When the upload completes, you can view the products in the Products tab of the Catalog.
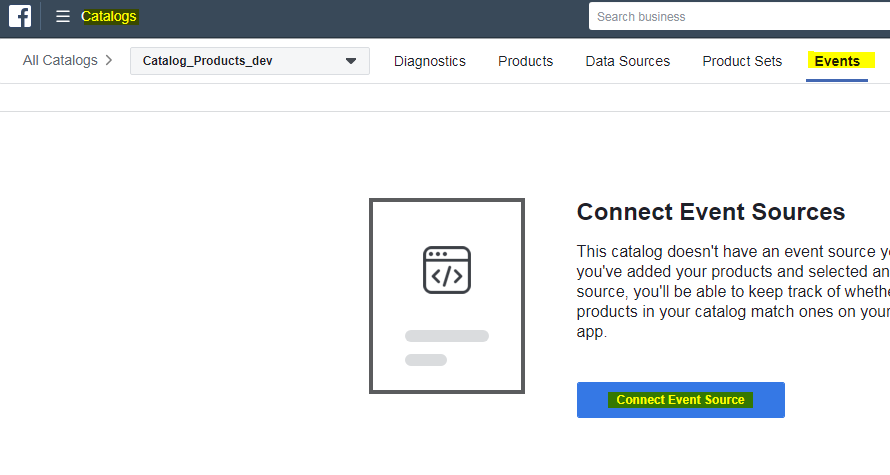
Connect the Event Source to the Catalog
In the Catalog , click the 'Event' tab and then 'Connect Event Source'.
Select the pixel and then click save.
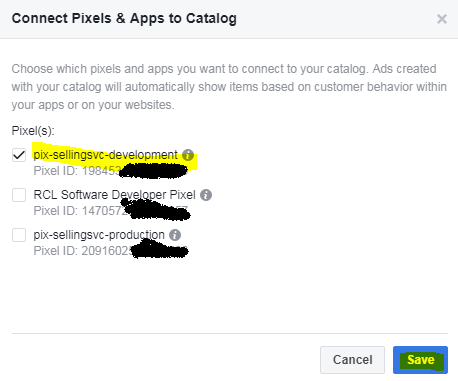
The pixel is then linked to the Catalog.
Selling Service Pixel Events
The follow table , lists the Facebook pixel Events and when they are triggered by Selling Service.
| Event | When Triggered |
|---|---|
| View Content | Each time a item or event is viewed in 'Item Details' |
| Add To Cart | When an 'Order' is submitted by a customer |
| Purchase | When an item or event is purchased by a customer |
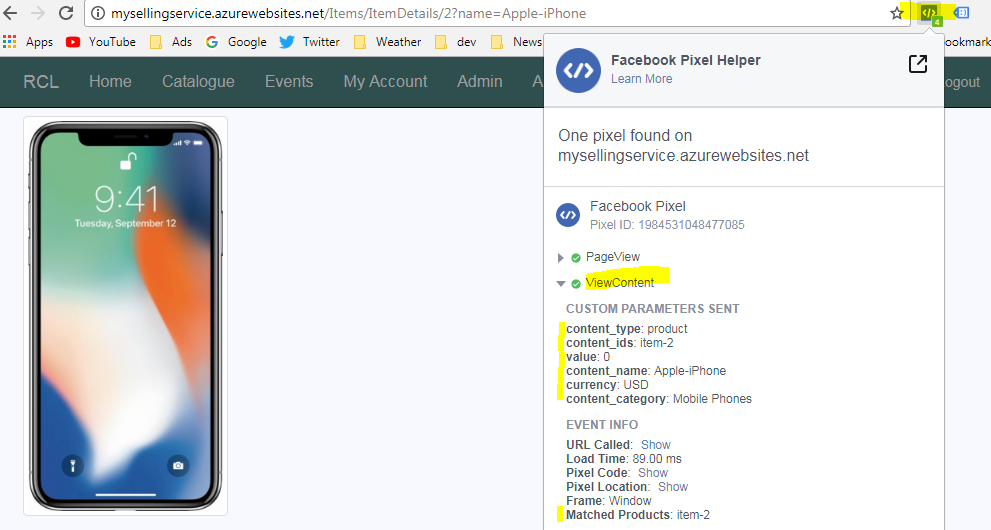
The following image illustrates the 'View Content' pixel event triggered on the Item Details page:
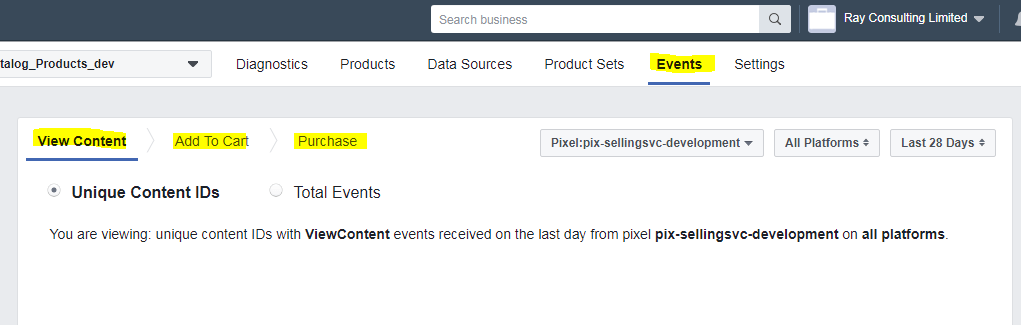
You can track the Events in your Facebook Catalog
Facebook Dynamic Ad
You can use your Catalog to create Facebook Dynamic Ads.