Install Identity Service in Azure
Identity Service is used to implement single-sign-on and provide security for every application in RCL Cloud Services. We will install Identity Service as a web application in a Free Hosting Plan in Azure.
Prerequisites
Before you install the Identity Service application, make sure that you have completed the following tasks:
Install Identity Service
Click on the following button to deploy the application to Azure. By clicking on the 'Deploy to Azure' button, you agree to the Terms of Use for applications developed by Ray Consulting Limited. If you do not agree with the Terms of Use , you should not install or use this application.

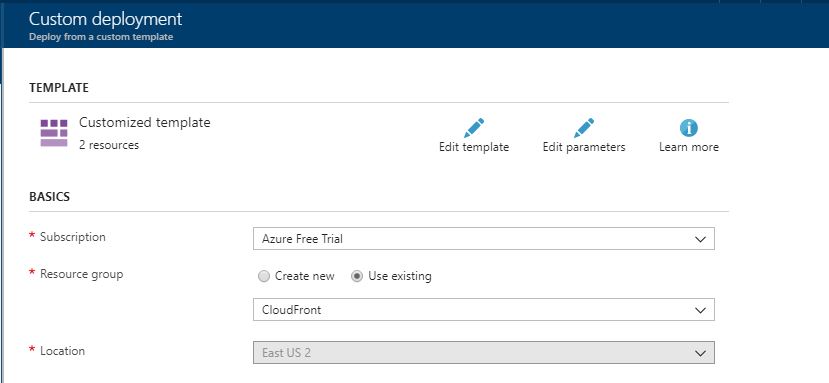
In the 'Custom deployment' page , add the following settings
Subscription - select your subscription
Resource Group - select the existing resource group which we created for our database and storage
Location - the location will be set automatically for your resource group
Site Name - set a unique name for your website
Hosting Plan Name - set the name of the hosting plan
Sku - select 'Free'
Worker Size - select '1'

When you are done, tick the 'agree' box and click the Purchase button.
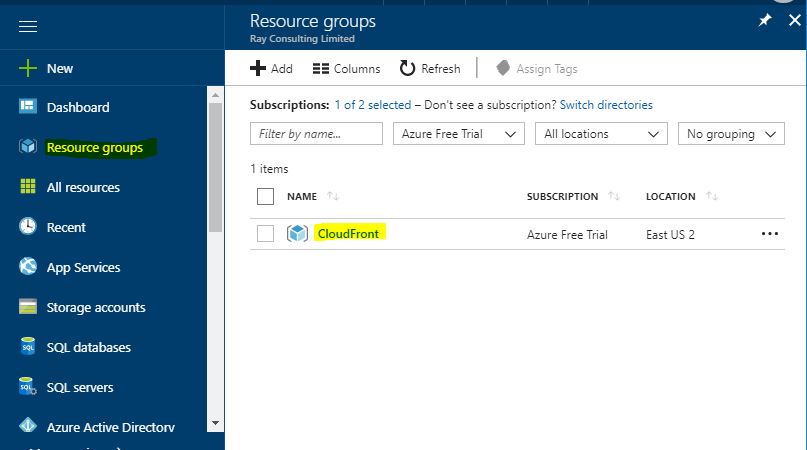
To view the web app, Click on Resource groups , then click on the resource group
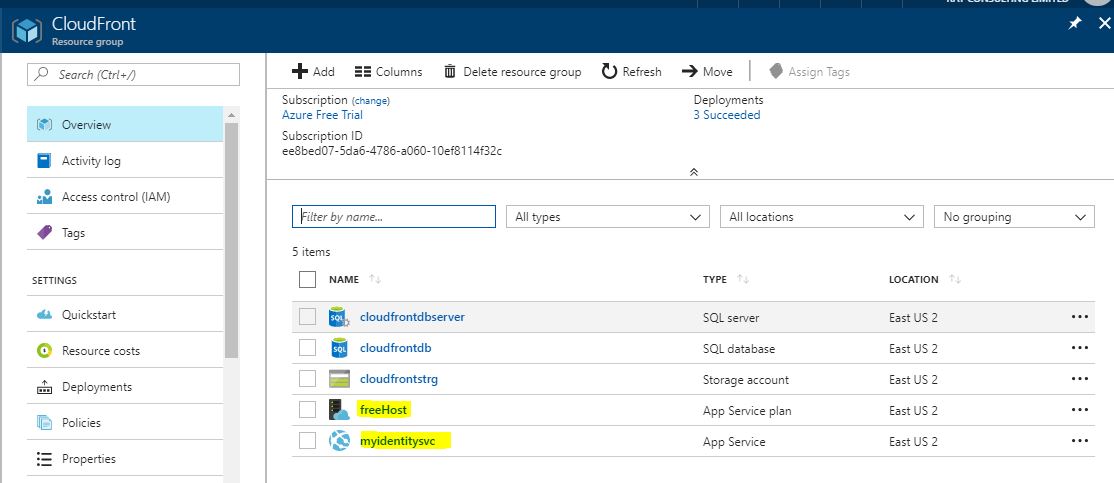
Here, you can see the new hosting plan and web app we just created.
Configure Identity Service
In this section we will configure identity service by setting the application settings.
Set the database connection
Identity Service requires a database to store data related to users and sign-on. In this step we will get the connection string for the database.
In the resource group, click on the database, then click on the show database connection string.
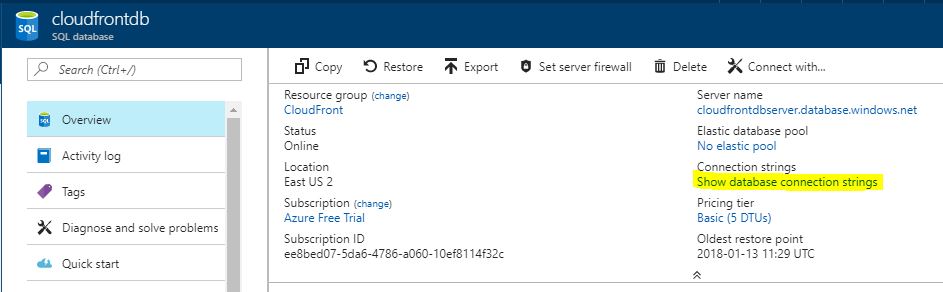 Copy the database connection string for ADO.NET
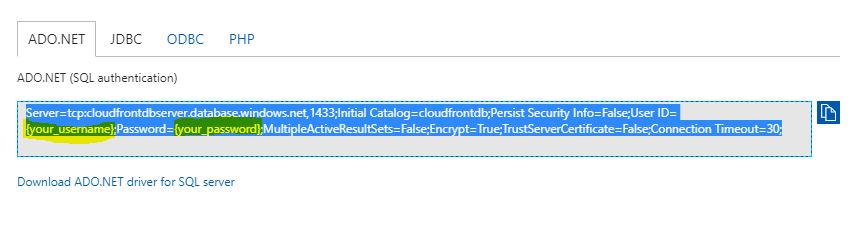 Replace the username and password placeholders with the username and password for your database. Copy this code to a safe location because we will use it to configure our web application settings later on.
Get the SendGrid API Key
Please refer to this section to create a SendGrid account and get the SendGrid API Key:
Add application settings to the web app
In the resource group, click on the web app
In the web app, scroll down to 'Settings' and click on Application settings
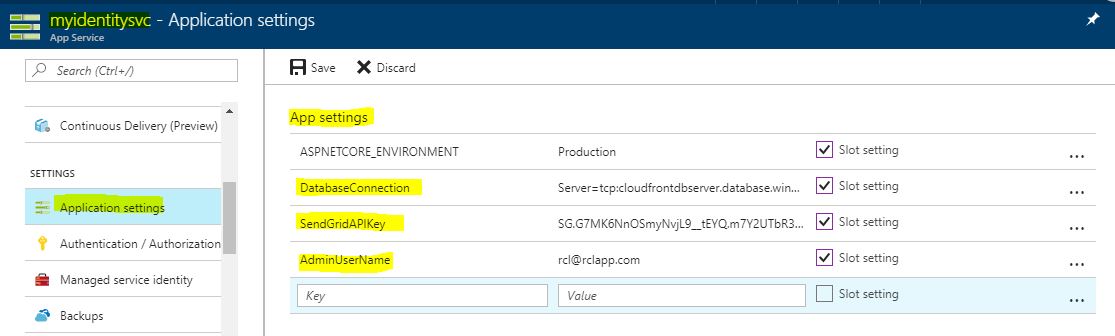
In the 'Application settings' page, scroll down to the App settings section and add the following Key-Value settings:
ASPNETCORE_ENVIRONMENT - set it to Production
DatabaseConnection - add the database connection string we acquired from the previous steps
SendGridAPIKey - add the SendGrid API Key we acquired from previous steps
AdminUserName - set the admin username to an email address you can access.
Ensure the 'Slot setting' is ticked for all the settings. Click the Save button when you are done.
Click the Overview link in the web app and then click on the URL link to launch the web application in the browser.

Once the application is properly configured, the web app will launch a Setup page for you to configure the Admin user. Please copy and paste the instructions at a location where you can follow each step.
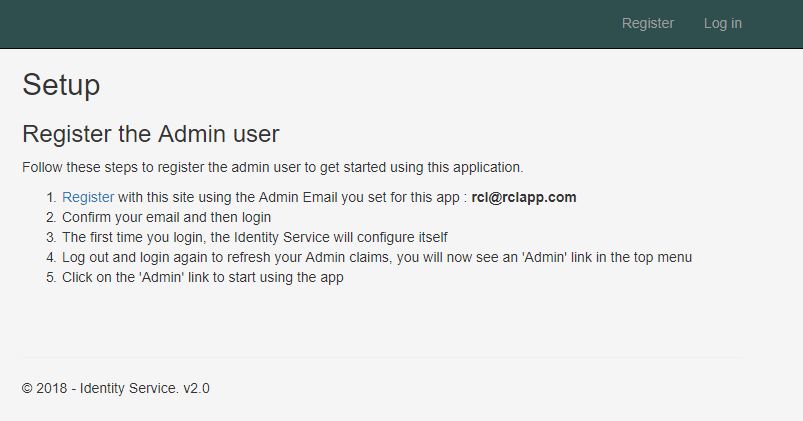
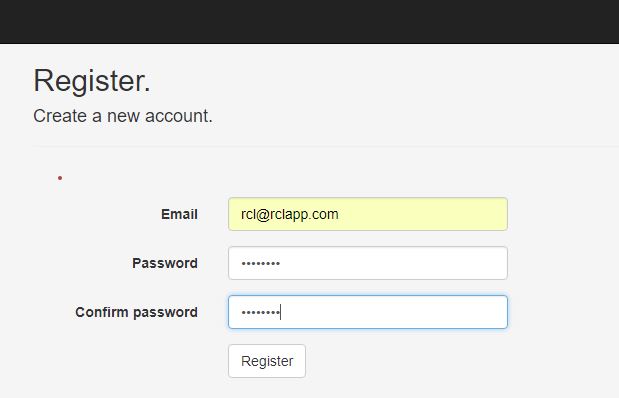
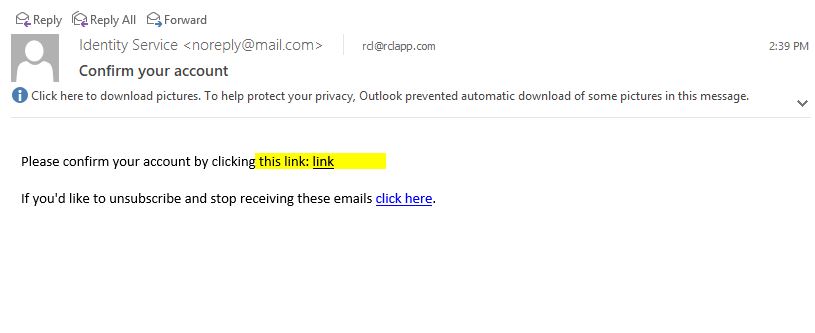
First, register with the site with the Admin Email you set up in the application settings
If you configured the SendGrid API key properly, you can now check your email and confirm your email address and then login.
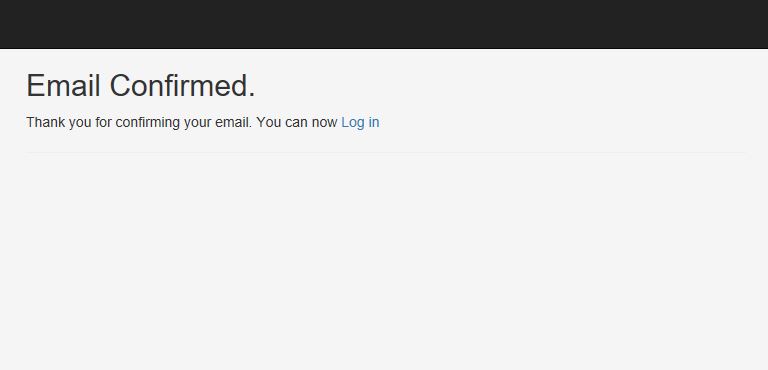
Click the Log In link to log in
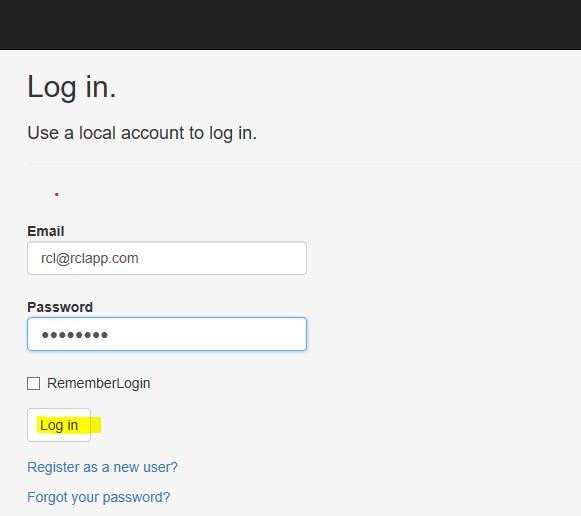
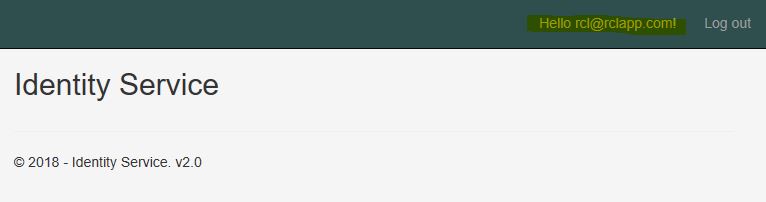
The first time you login, Identity Service will perform internal configurations. Logout and Login again. The second time you login you will see an Admin link.
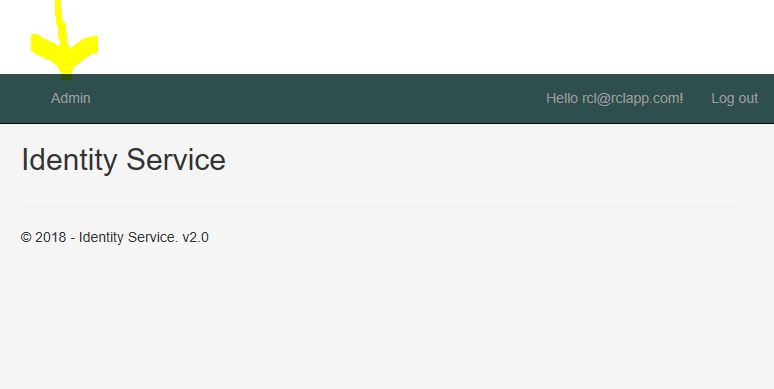
You can click on the Admin link to start using Identity Service.
